My equipment for astrophotography
There are a few challenges with astrophotography that needs to be adressed.
- The earth is rotating. To keep the night sky still you need to connect your camera to a mount with a motor that counteracts the earths rotation. Or you can take pictures with short duration ( e.g. “500 rule”).
- Deep sky objects are faint. In order to get details of the object you need long and/or multiple exposures.
- Light pollution. You preferable should go to a dark place to take your images and avoid shooting when there is a full moon (unless the moon is the target). Light pollution filters can be used but the darker the better.
My "nebula rig"

In this picture you can see my mount Skywatcher HEQ-5 pro which is an equatorial mount that accurately counteract the earths rotation. To make it easier on the motor the weight of the telescope and accessories is balanced by a counterweight. Connected to the mount is the optical train with the RedCat 51 telescope, a filter wheel and finally the ZWO 2600 dedicated astrocamera. Power to run this setup is provided by the power station.
The optical train
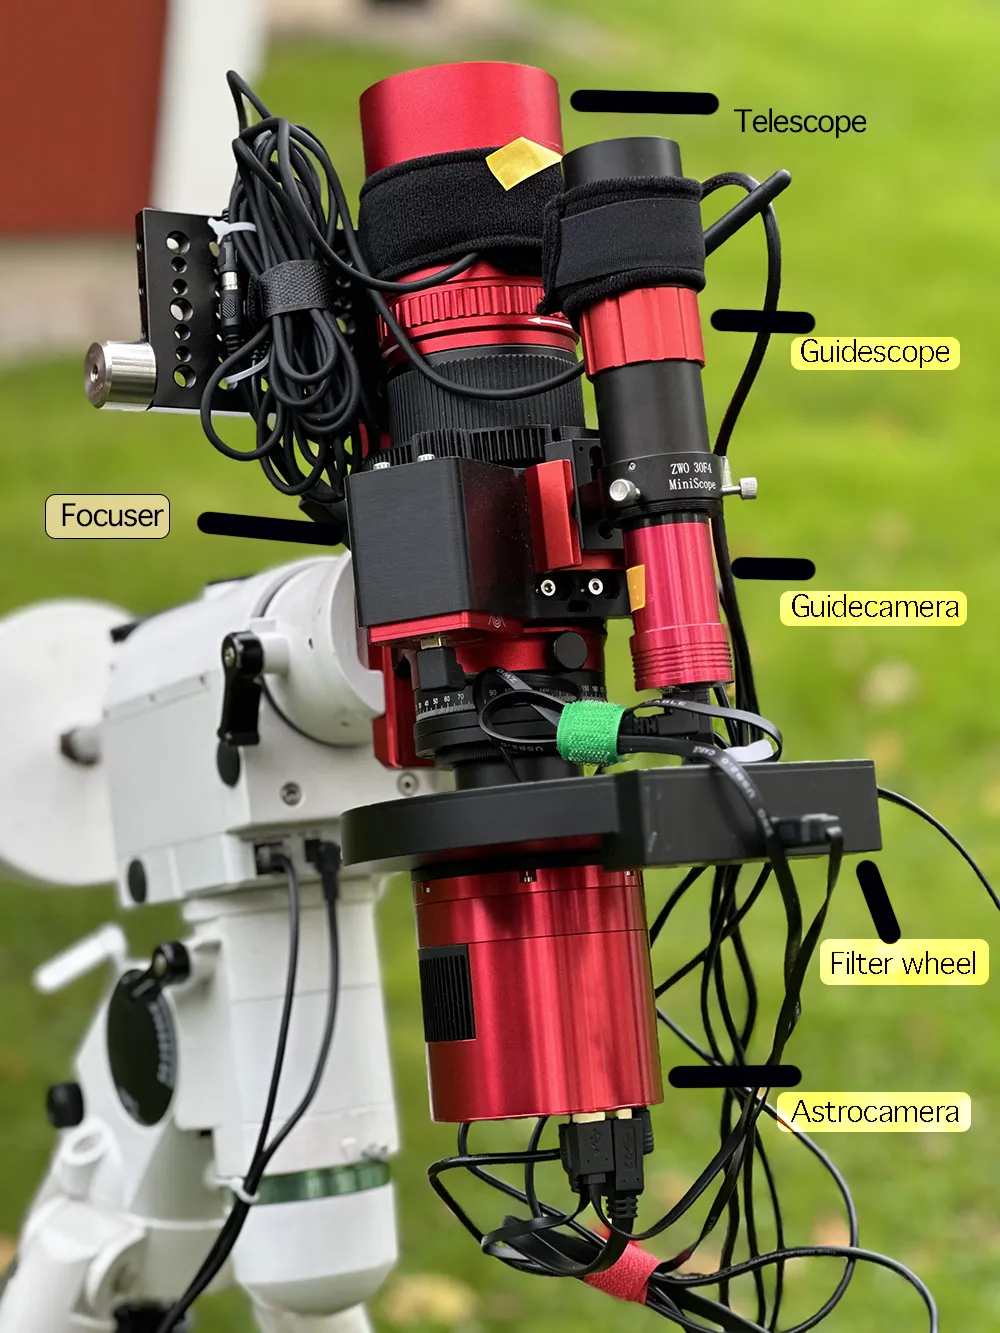
A close-up picture of the optical train. The RedCat 51 has a focal length of 250 mm making it perfect for photographing large deep sky objects like nebulae. The filter wheel contain filters for narrow band imaging useful for photographing nebulae rich of hydrogen, oxygen and sulphur. It also has filters for red, green and blue color (RGB) as well as a luminance filter to capture all the details of the deep sky object. I use the LRGB combination when photographing large galaxies like the Andromeda. The focuser helps to automatically focus the telescope to produce sharp images of the objects.
A guidescope and guidecamera is attached to the main telescope and continuously track a specific star throughout the photo session telling the mount if the rotation and tracking is adequate or too slow or fast. The purpose of this is to allow for very long exposures (5-10 minutes) with pinpoint stars. Finally a dedicated camera for astrophotography is attached at the far end of the optical train that gathers all the light. This specific camera (ZWO 2600 MM) has a monochrome APS-C sensor. To get colors in the image it is necessary to have filters of different wavelengths and the images produced are then associated with specific colors and thereafter combined in the computer to create a color image.
The computer that runs it all...
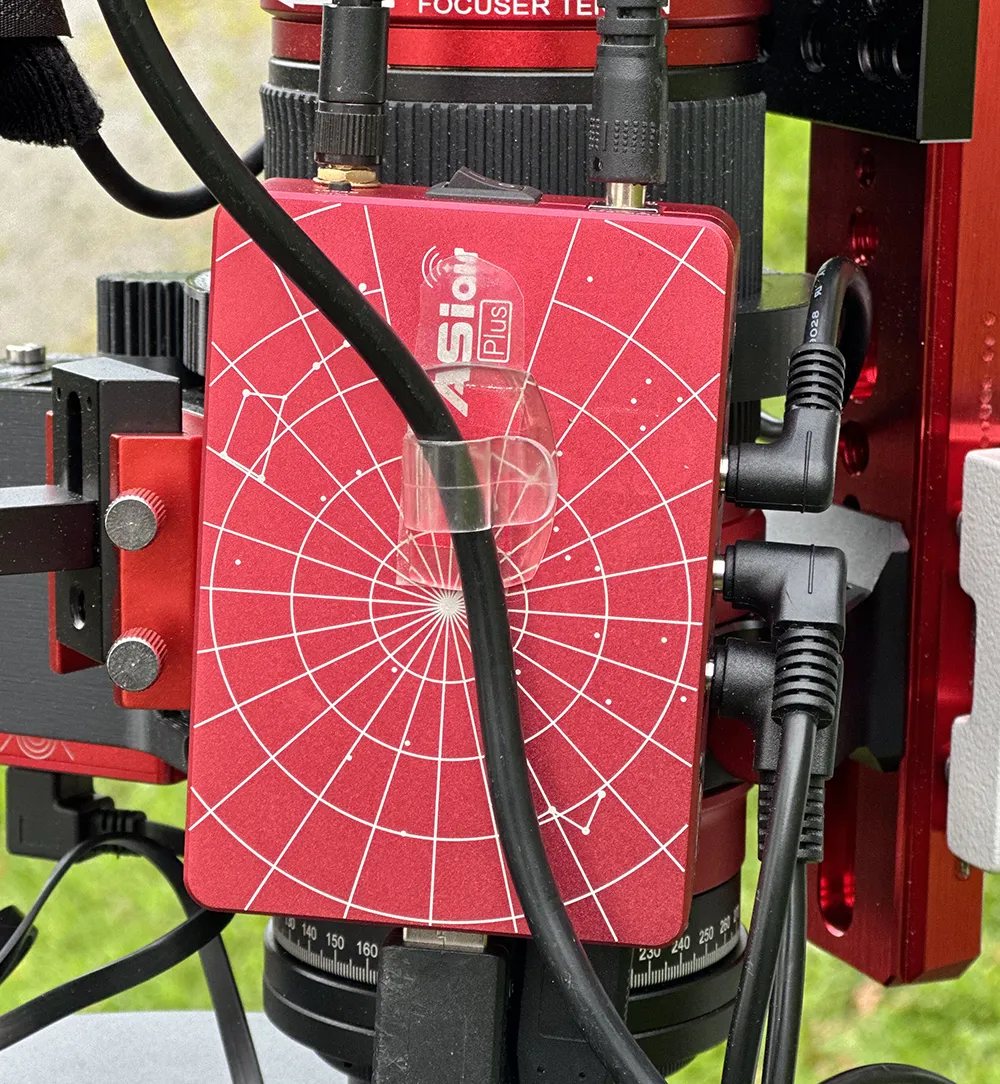
A mini computer is attached to the telescope which operates the mount, main camera, guide camera, dew heaters and camera focuser. When I take a picture of the night sky the computer knows where the telescope is pointed at. I can then tell the computer what object to focus on and it will automatically steer the mount to that position. Thereafter I can program the entire photography session including going to “home position” and shut down when the session has finished.
The "galaxy and planetary rig"

Here is my larger telescope attached to the mount. The telescope is a Celestron 8″ Edge-HD telescope with a focal length of 2032 mm making it perfect for planetary and galaxy imaging, i.e. smaller or more distant objects.
Planetary imaging train

This rig is used for planetary imaging for example photographing Jupiter, Saturn and Mars. Following the adapter, which is used to create an adequate distance between the telescope and the camera, an atmospheric dispersion corrector (ADC) is attached to reduce chromatic aberration and increase sharpness. The Barlow lens increases the focal length to a staggering 4000 mm like a magnifying glass. The camera ZWO 662 MC is a dedicated planetary color camera at the end of the optical train
The "travel rig"

This rig is lightweight and detachable making it perfect to travel with. An iOptron sky-guider tracking device is attached to a tripod to compensate for the earths rotation. The camera is connected to the tracker via a ballhead making adjustments of the camera position easy. With the Samyang 10 mm lens the camera captures a large part of the night sky in one shot which is perfect for Milky Way imaging. The iOptron tracker device has a built in battery making external power supply unnecessary. On top of the camera you can see a device called “Capture”, which is used for remote control of the shutter so you don’t touch the camera when you take the pictures to avoid shaking or motion blur in the picture. This device is programmable to take multiple shots of any duration.
The "moon bazooka"

I´ve used this zoom-lens especially for moon shots. It is flexible with the focal length varying between 150 and 600 mm and produces quite sharp images. I have noticed some issues with chromatic aberration but this could normally be corrected in post processing. It is also quite heavy making it less flexible.
Which camera works with astrophotography?
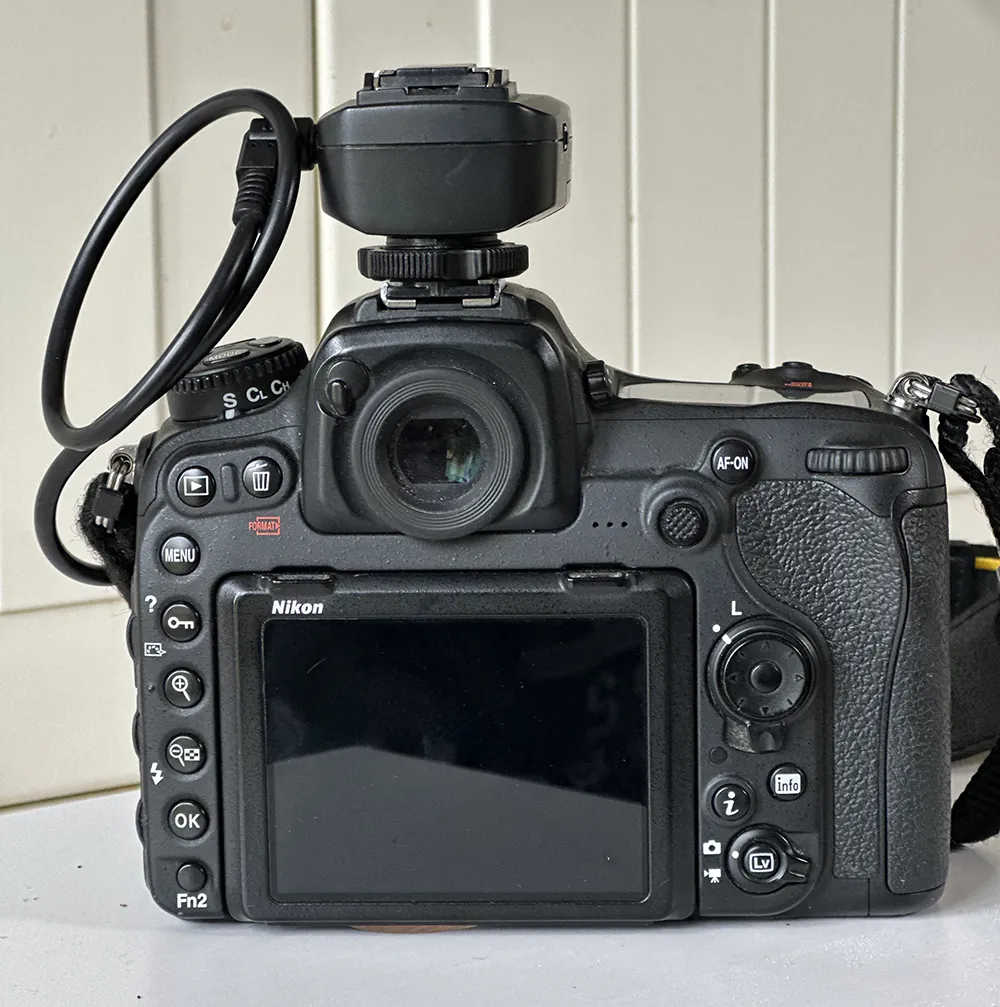
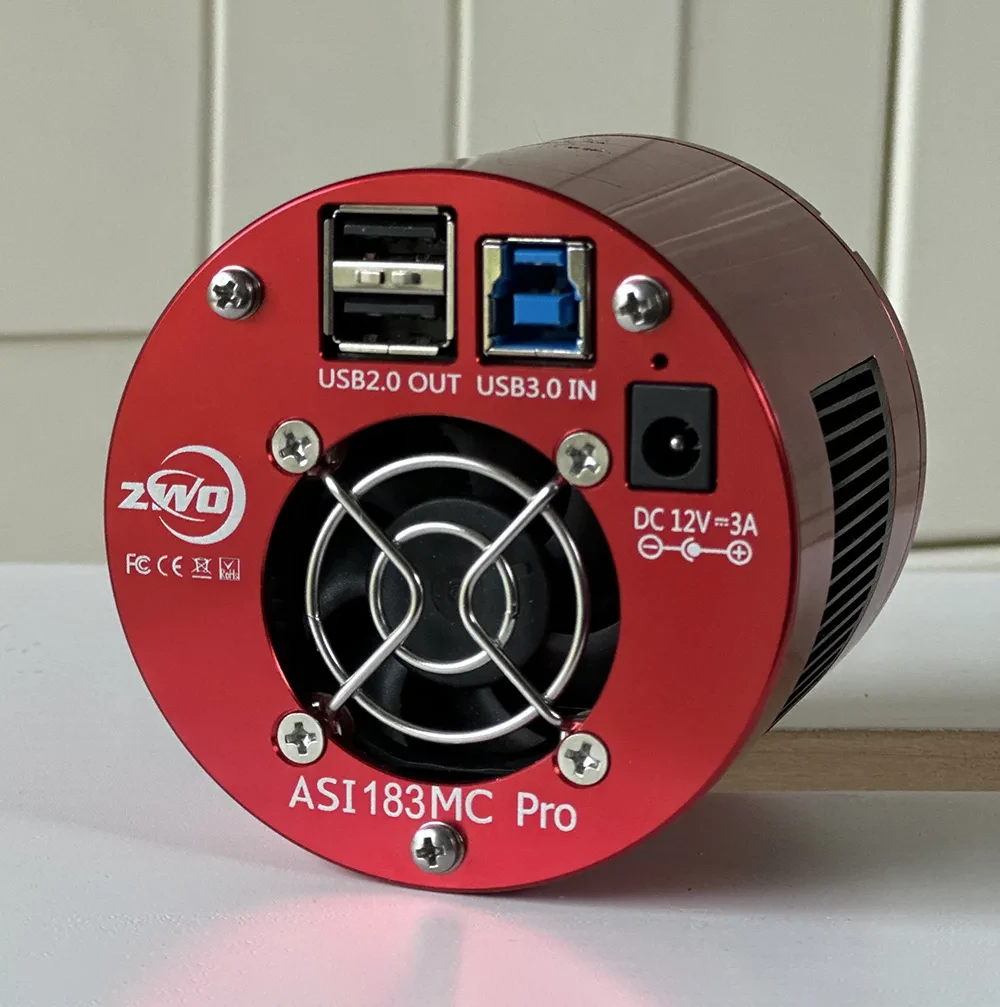
If you already have a camera of your own, use it! A dedicated camera for astrophotography can only be used for this purpose and nothing else.
But for those who like me spend a considerable amount of time and energy to this hobby, a dedicated astrocamera is a must. It has a very sensitive sensor that collects every bit of light from the nebulae or galaxies that you are photographing. It also has a high dynamic range capturing accurate nuances from the brightest to the darkest tones of the objects. And the sensor is cooled which reduces noise that invariably comes with long exposures.